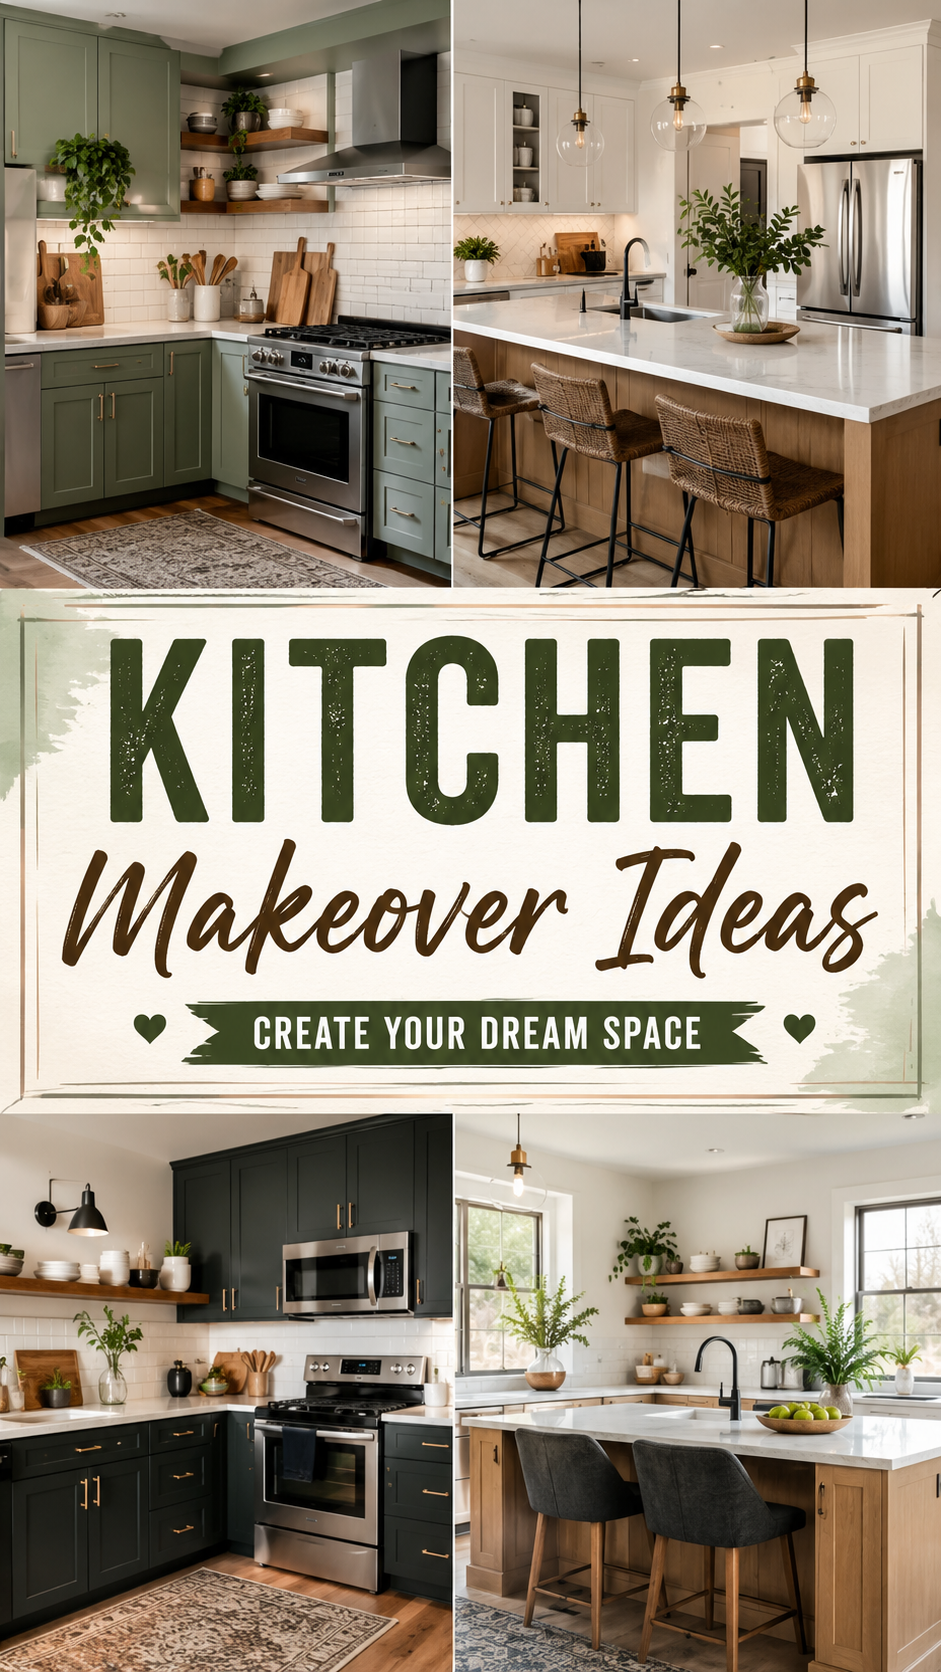
Your kitchen doesn’t need a demo crew. It needs a weekend, a plan, and about $200.
That’s the truth nobody tells you before you fall down a Pinterest hole of $40,000 renovations. Most of what makes a kitchen feel new isn’t the cabinets or the countertops. It’s the layer on top: color, light, texture, and a few smart swaps.
I’ve pulled together the exact ideas, tools, and steps to pull this off without touching a single wall.
What You’ll Need
- Peel-and-stick backsplash tile (or paintable wallpaper)
- Open shelving brackets (2–4, depending on wall space)
- Cabinet hardware (knobs or pulls, matte black or brushed brass)
- Cutting board and utensil crock set for countertop styling
- Dish towels in 2–3 coordinating colors
- Small potted herb plants (basil, thyme, or mint)
- Woven baskets for open shelf storage
- Under-cabinet LED light strip
- Removable cabinet paint or primer (if repainting cabinets)
- A statement rug for in front of the sink
Pro Styling Tips
1. Odd numbers win. Group your countertop items in threes. A plant, a crock, a cutting board leaning against the wall. Symmetry looks staged. Odd numbers look lived-in.
2. Light from underneath. Under-cabinet lighting does more for “feels expensive” than almost anything else on this list. It’s a 20-minute install.
3. Match your metals, but not perfectly. Pick one dominant finish (brass, black, chrome) for hardware, and let one or two accent pieces break the rule. Perfect matching reads like a showroom, not a home.
4. Empty counter space is a design choice. You don’t need to fill every inch. A clear stretch of counter makes everything else look more intentional.
5. Texture beats color. A woven basket, a linen towel, a wood board. Mixing textures does more visual work than adding more colors ever will.
Tools You’ll Need
| Tool | Used For |
|---|---|
| Screwdriver (manual or drill) | Swapping cabinet hardware |
| Level | Hanging shelves and art straight |
| Stud finder | Mounting shelves securely |
| Utility knife | Trimming peel-and-stick tile |
| Painter’s tape | Clean backsplash and paint edges |
| Measuring tape | Everything, honestly |
Step-by-Step: The Weekend Kitchen Refresh
Day One: The Bones
- Clear every counter completely. You need a blank slate to see what you’re actually working with.
- Swap your cabinet hardware first. This alone changes the entire tone of the room in under an hour.
- Install under-cabinet lighting. Most peel-and-stick LED strips need zero wiring.
- Apply your backsplash tile. Start from the center of your longest wall and work outward for the most even look.
Day Two: The Styling Layer
- Hang your open shelving, using a stud finder so it can actually hold weight.
- Style the shelves in threes, mixing height, texture, and one plant per shelf.
- Set up your counter zones. One for cooking tools, one for a small plant or bowl, one left completely empty.
- Lay down your rug in front of the sink for warmth and comfort underfoot.
- Step back and edit. Remove one item from every grouping you made. It’ll look better.
Substitutions and Variations
- No budget for tile? Paint a backsplash-height stripe in a bold color instead.
- Renting and can’t drill? Use tension-mounted shelves or command-strip hooks instead of screws.
- Small kitchen? Skip open shelving and focus on hardware, lighting, and one styled zone near the stove.
- Big kitchen? Add a second styling zone near the window with taller plants or a stack of cookbooks.
- Want a farmhouse feel? Swap brass for matte black, add a wood cutting board wall hook, and use cream and sage towels.
- Want minimalist? Skip the baskets, stick to white and wood tones, and keep every shelf under three items.
- Want boho? Add a hanging plant, a woven basket wall piece, and mismatched wood textures.
Budget Breakdown
| Item | Approximate Cost |
|---|---|
| Cabinet hardware (12–20 pieces) | $30–$60 |
| Peel-and-stick backsplash | $40–$80 |
| Open shelving (2 brackets) | $25–$45 |
| Under-cabinet LED strip | $15–$25 |
| Styling items (baskets, crock, plants) | $30–$50 |
| Total | $140–$260 |
Make Ahead / Prep Tips
- Measure your backsplash area before ordering tile. Buy 10% extra to account for cuts.
- Order hardware first. It usually ships slower than everything else on this list.
- Test your paint or tile color on a small section and live with it for 24 hours before committing.
- Plan your shelf layout on paper first. It saves you from extra holes in the wall.
Room Pairing Suggestions
A refreshed kitchen looks disconnected if the dining nook right next to it doesn’t get any love. Match your towel colors to a table runner. Echo your cabinet hardware finish in a nearby light fixture. Small connections like this make the whole space feel planned instead of patched together.
Maintenance and Upkeep
- Wipe backsplash tile weekly with a damp cloth. Most peel-and-stick options are grease-resistant but not grease-proof.
- Rotate your styled items every season. Swap herbs for a dried arrangement in winter, fresh basil in summer.
- Tighten cabinet hardware every few months. Daily use loosens screws faster than you’d expect.
- Dust open shelves weekly. Open storage looks great and collects dust twice as fast as closed cabinets.
- Re-oil wood cutting boards monthly if they’re on display, not just in use.
FAQ
Will peel-and-stick backsplash tile damage my walls? Most brands are designed to remove cleanly, especially from painted drywall. Always test a small hidden section first.
Do I need an electrician for under-cabinet lighting? No. Battery-powered or plug-in LED strips need no wiring and no electrician.
How long does this whole makeover actually take? A focused weekend. Hardware and lighting alone take under two hours combined.
What if I’m renting and can’t paint or drill? Stick to hardware swaps (many are reversible), tension shelves, rugs, and styling. You’ll still get 80% of the visual impact.
How do I keep open shelves from looking cluttered? Less is more. Three to five items per shelf, grouped by height and texture, is the sweet spot.
Wrapping Up
None of this requires a sledgehammer or a second mortgage. A weekend, a few tools you probably already own, and a couple hundred dollars will get you a kitchen that finally feels like yours.
Start with the hardware swap. It’s the fastest win on this whole list, and once you see the difference, you’ll want to keep going.
Tried any of these ideas in your own kitchen? Drop a comment and let me know what made the biggest difference for you. 🏡