Your countertop is either working for you or against you right now. There’s no in between.
If it’s covered in mail, random chargers, and that one appliance you used twice in 2023, it’s working against you. If it’s styled with a few intentional pieces that make the space feel warm and lived-in, it’s doing its job.
Here’s the good news: fixing this doesn’t take a renovation. It takes a plan, a few key pieces, and about an afternoon.
Let’s get into it.
What You’ll Need
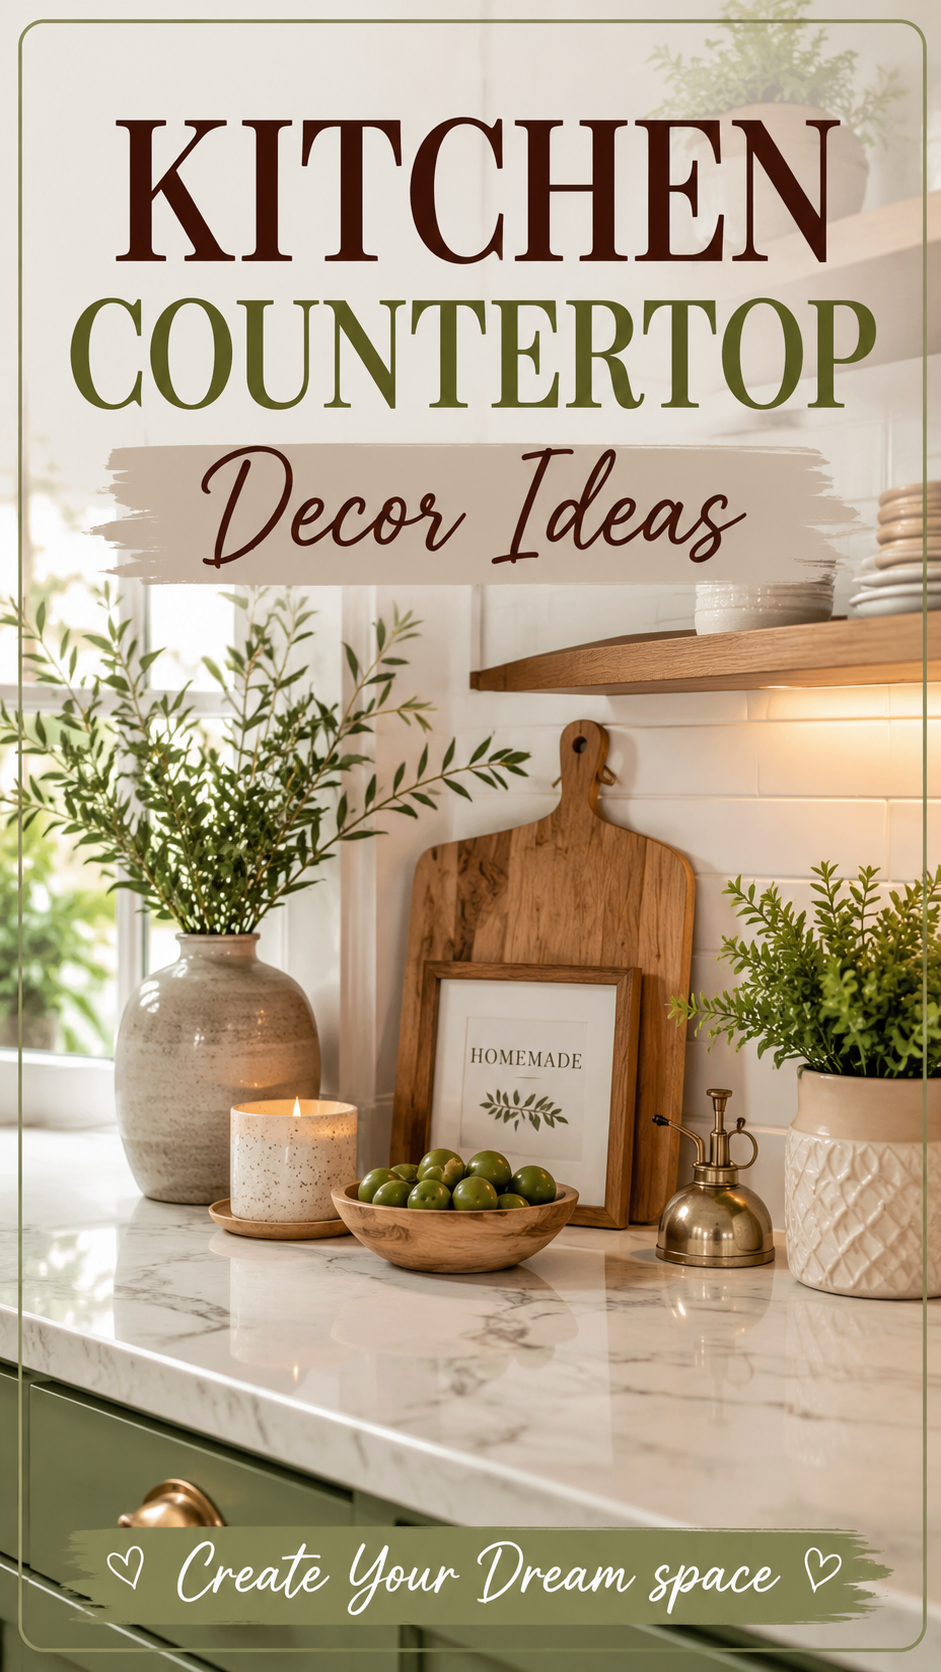
You don’t need everything on this list. Pick 4 to 6 pieces max per counter section, or it’ll start looking cluttered fast.
- Wooden or marble cutting board (for leaning against the backsplash)
- Ceramic or stoneware utensil crock
- Small potted herb plant (basil, thyme, or a faux version if you kill plants like I do)
- Glass canisters for oils, pasta, or coffee beans
- A stack of 2-3 cookbooks
- Fruit bowl (wood, ceramic, or woven)
- Small vase with fresh or dried stems
- Soap dispenser that isn’t the plastic bottle it came in
- Tray to corral smaller items together
- Cutting board stand or plate rack
Pro Styling Tips
1. Group in odd numbers. Three items look more natural than two or four. Your eye reads odd groupings as “arranged” and even groupings as “leftover.”
2. Vary the height. A tall vase next to a short bowl next to a flat cutting board creates visual rhythm. Three items at the same height just looks like a shelf.
3. Use a tray to fake tidiness. Group your oils, salt, and pepper on a small tray. Instant “I have my life together” energy, even if you don’t.
4. Leave breathing room. Empty counter space isn’t wasted space. It’s what makes the styled pieces actually stand out.
5. Repeat one material. If you’ve got a wood cutting board, pick a wood-handled utensil too. Small repeats tie a whole counter together without trying too hard.
Tools You’ll Need (If Any DIY Is Involved)
Most of this is arrange-and-style, but if you’re adding a floating shelf or hanging rail for extra display space:
- Drill
- Level
- Stud finder
- Wall anchors and screws
- Measuring tape
- Pencil
Step-by-Step: How to Style Your Countertop
Step 1: Clear everything off. Yes, everything. You can’t design around clutter.
Step 2: Sort into three piles. Keep, store, toss. Be honest about the toss pile.
Step 3: Identify your “workhorse zone.” This is where your daily items live, coffee maker, dish soap, cutting board. This zone doesn’t need to be pretty. It needs to function.
Step 4: Pick your “styled zone.” This is the smaller stretch of counter that gets the decorative treatment. Usually near a window or the end of a run.
Step 5: Layer in your pieces. Start with the biggest item first (a bowl or crock), then add a mid-size item (a plant or canister), then finish with something small and detailed (a vase or trinket dish).
Step 6: Step back and look. Walk to the doorway and look at the counter from a distance. If something feels off, it usually is.
Step 7: Edit. Remove one thing. It almost always looks better.
Substitutions and Variations
Budget version: Thrift stores and Facebook Marketplace are goldmines for ceramic bowls, wood boards, and ironstone pitchers. You don’t need designer pieces to get a designer look.
Small kitchen version: Stick to a single styled zone, ideally one corner. A large tray with 3 items will do more for a tiny counter than scattering pieces everywhere.
Large kitchen version: You can style 2-3 separate zones, just keep the same color palette across all of them so it reads as one cohesive space instead of three random vignettes.
Style swaps:
| Style | Swap In |
|---|---|
| Farmhouse | Galvanized metal trays, mason jars, dried wheat stems |
| Minimalist | Matte black or white ceramics, one plant, nothing else |
| Boho | Rattan trays, dried pampas grass, terracotta pots |
| Coastal | Light wood, linen napkins folded on display, blue glass |
Make Ahead / Prep Tips
- Measure your counter zones before shopping. A vase that looks small online can eat up a third of your counter in real life.
- Order plants or dried stems a week ahead. Fresh stems need time to arrive and settle before you style around them.
- Thrift early. Good ceramic pieces get snapped up fast. Start browsing at least two weeks before you plan to style.
- Test your layout with items you already own first. Move things around for a day or two before buying anything new.
Budget Breakdown
| Item | Budget Option | Mid-Range | Splurge |
|---|---|---|---|
| Utensil crock | $8-12 (thrift) | $20-30 | $45+ |
| Cutting board | $10-15 | $30-45 | $70+ |
| Fruit bowl | $10 (thrift) | $25-35 | $60+ |
| Canisters (set of 3) | $15-20 | $40-60 | $90+ |
| Vase | $5-8 (thrift) | $20-25 | $50+ |
A full refresh can realistically cost under $50 if you thrift half the pieces.
Maintenance and Upkeep
Styled counters fall apart fast if you don’t build in a reset habit.
- Wipe down daily, but only truly move pieces during a weekly deep clean.
- Rotate plants and stems before they start looking sad. Dead stems kill a styled look instantly.
- Refill canisters before they run low. Half-empty glass jars look neglected, not styled.
- Reset the whole zone monthly. Take everything off, wipe the counter, put back only what’s still earning its spot.
FAQ
How many items should I put on my counter? Stick to 4-6 per styled zone. More than that starts to look cluttered instead of curated.
What if I don’t have counter space to spare? Style a small tray instead. It gives you a defined “zone” without needing extra square footage.
Are open shelves better than closed counters for decor? Neither is better, they just serve different needs. Open shelves show more but need more upkeep. Closed counters are lower maintenance but show less personality.
Can I use real plants near a stove? Herbs like basil and thyme actually like the extra warmth near a stove, just keep them a safe distance from direct flame or heat.
How do I keep my counter from getting cluttered again in a week? Give every item you own a “home.” If something doesn’t have an assigned spot, it ends up back on the counter.
Wrapping Up
A styled countertop isn’t about buying more stuff. It’s about being intentional with what earns a spot on that surface.
Start small. Pick one zone, style it with what you already have, and see how it feels for a week.
What’s currently taking up space on your counter that needs to go? Drop it in the comments, I want to hear what you’re working with.