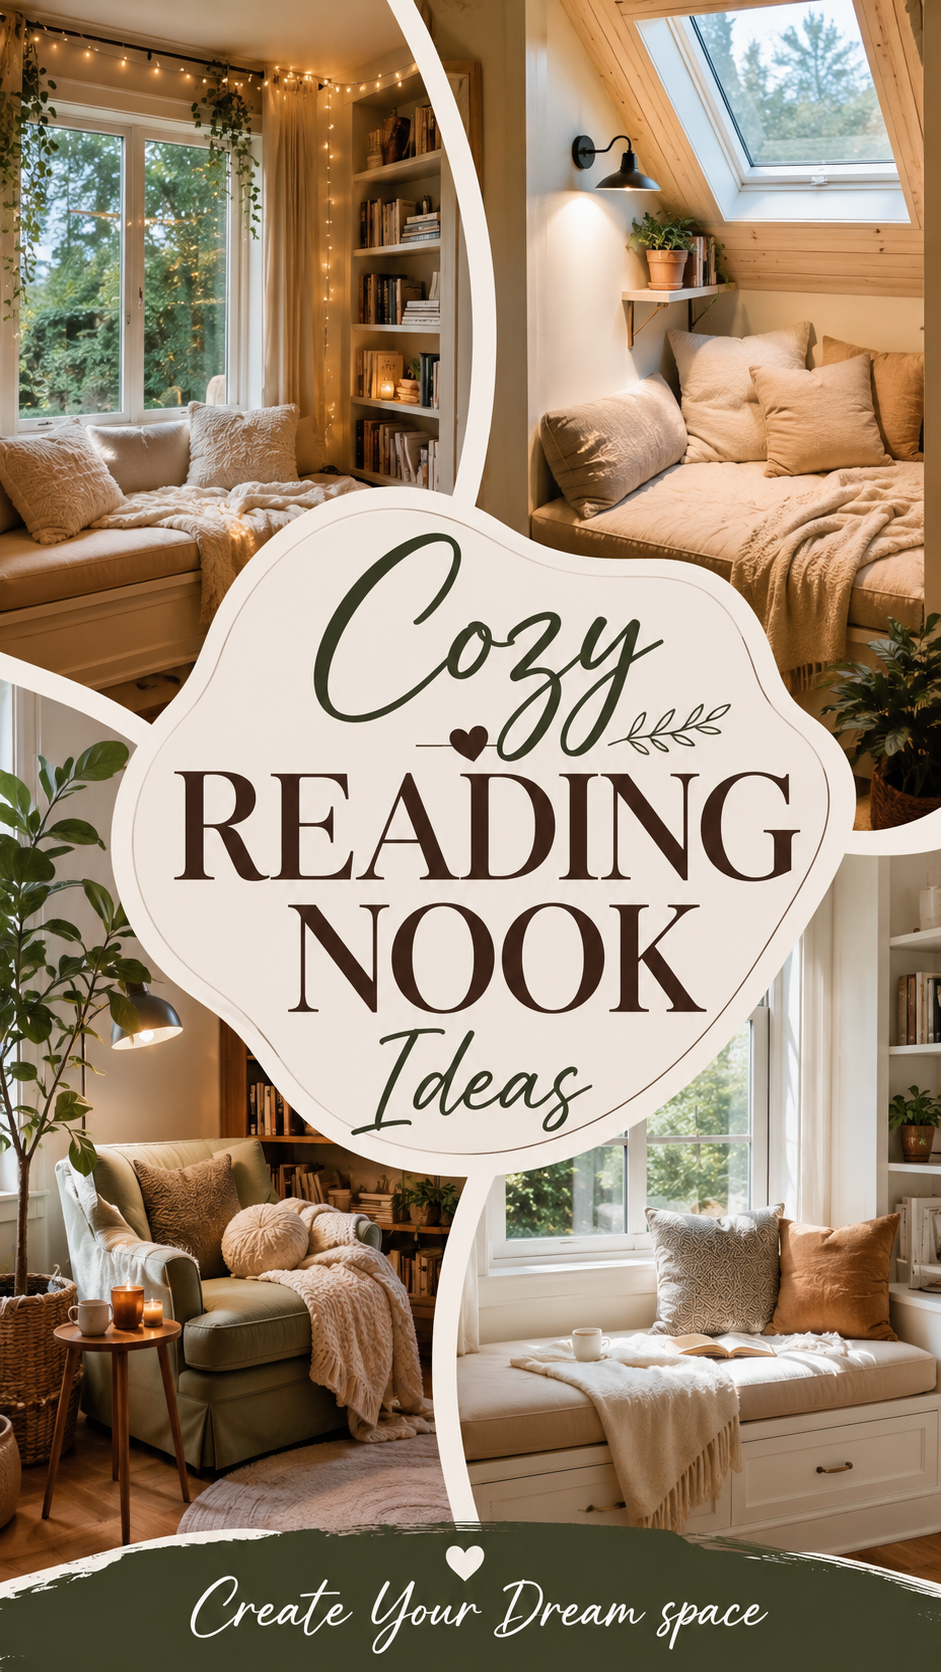
You have a chair somewhere in your house that you never sit in. It’s probably got a jacket draped over it right now.
That chair could be a reading nook. It just needs a little help.
A reading nook isn’t about owning a library or a house big enough for a whole separate room. It’s one corner, styled on purpose, that pulls you in instead of your phone. And you can build one this weekend without touching a single wall.
What You’ll Need
Here’s your shopping list. Grab what fits your space and skip the rest.
- A comfortable chair, armchair, or floor cushion setup
- A small side table or stool for your drinks and books
- A reading lamp (floor lamp or a small table lamp)
- A soft throw blanket
- Two or three pillows
- A bookshelf, ladder shelf, or a simple stack of crates
- A rug to define the space
- A basket for extra blankets or magazines
- A candle or diffuser
- One or two plants
- A footstool or ottoman (optional but worth it)
Budget Breakdown
| Item | Budget Option | Mid-Range | Splurge |
|---|---|---|---|
| Chair | $50-90 (secondhand or thrifted) | $150-300 | $500+ |
| Lighting | $20-35 | $50-90 | $150+ |
| Rug | $30-50 | $80-150 | $250+ |
| Blanket & Pillows | $30-45 total | $60-100 total | $150+ total |
| Shelving | $25-40 | $70-120 | $200+ |
A full nook comes together for under $200 if you thrift the chair and skip the fancy lighting. That’s the version I’d start with.
Tools You’ll Need
Only needed if you’re assembling shelves or mounting anything.
- Screwdriver
- Level
- Wall anchors and screws (if mounting a shelf)
- Measuring tape
- Stud finder
Step-by-Step: How to Build Your Reading Nook
1. Pick your corner first. Look for a spot near natural light. A window corner beats a dark hallway every time, even if the chair is the same.
2. Choose a chair you’ll actually sink into. Skip anything stiff or purely decorative. If you wouldn’t nap in it, it’s not the right chair.
3. Add a side table within arm’s reach. You want somewhere to set your coffee down without leaning over. A small stool works just as well as an actual table.
4. Layer your lighting. Overhead light is too harsh for reading. A warm-toned floor lamp or a small clip light aimed right at your book makes a huge difference.
5. Build height with shelving. A ladder shelf or two floating shelves nearby means your current stack of books lives right where you’ll actually read them.
6. Ground it with a rug. Even a small one under the chair signals “this space is intentional,” not “random chair we forgot to move.”
7. Pile on the soft stuff. Blanket, two pillows, done. This is what turns a chair into a nook.
8. Edit down. Remove anything that doesn’t belong to reading, resting, or coziness. A nook that’s cluttered with random objects stops feeling relaxing fast.
Pro Styling Tips
- Keep your current read visible. A book left open on the side table looks lived-in and pulls you back to the chair.
- Mix textures, not just colors. A chunky knit throw next to a smooth ceramic mug feels more inviting than an all-matching set.
- Light from the side. A lamp positioned beside your shoulder, not above your head, cuts glare on the page and feels cozier too.
- Don’t push the chair into a hard corner. Leave a few inches of breathing room so the space feels open, not boxed in.
- One plant does a lot of work. A single plant next to the chair softens the whole setup without adding clutter.
Substitutions and Variations
No spare chair? A floor cushion with a low backrest against the wall works just as well, especially for small bedrooms.
Tight budget? Skip the floor lamp and use a clip-on book light instead. It’s a fraction of the price and still solves the glare problem.
Small space version: Use a wall-mounted fold-down shelf as your side table and a slim armchair instead of anything oversized.
Large space version: Add a full bookshelf, an ottoman, and a second chair if you want the nook to fit two people.
Color swaps: Light, neutral fabrics keep small nooks feeling airy. Deep greens or navy work well if your nook has good natural light and a bit more room to breathe.
Make Ahead / Prep Tips
- Measure your corner before you shop so you’re not guessing on chair size.
- Order any furniture with longer shipping times first.
- Wash your throw blanket and pillow covers before styling, so the space feels fresh from day one.
- If mounting shelves, find your studs the day before so installation goes fast.
- Pick your current book stack ahead of time so the nook looks styled the moment it’s done.
Style Variations
- Boho: rattan chair, layered rugs, macrame wall hanging, warm wood tones
- Cottagecore: floral cushions, a vintage lamp, a small stack of hardcover books, dried flowers
- Minimalist: one neutral chair, one lamp, one plant, nothing else on display
- Modern: sleek accent chair, geometric rug, black metal shelving, a single bold pillow
Maintenance and Upkeep
- Fluff and rotate your pillows weekly so they hold their shape.
- Wash your throw blanket every couple of weeks, especially if pets are involved.
- Dust your shelves and lamp monthly to keep the corner feeling fresh, not neglected.
- Rotate your book stack seasonally so the nook doesn’t feel stale.
- Vacuum or shake out your rug every week or two, since this spot gets more foot traffic than you’d think.
FAQ
How much space do I actually need for a reading nook? A single chair setup needs about 3 feet by 3 feet, plus a little room for a side table.
Can I make a reading nook without a window? Yes. A good floor lamp does the job just as well as natural light, especially in the evening.
What’s the best chair for a small nook? Look for something with a low, slim profile, like a slipper chair or an armless accent chair.
Do I need a bookshelf right next to the chair? Not necessarily. A small stack of your current reads on a side table works fine if space is tight.
How do I keep the nook from turning into a laundry pile? Use a basket for blankets and do a quick reset each evening so it stays a spot you want to sit in.
Wrapping Up
A reading nook is a small promise you make to yourself. Twenty quiet minutes, no phone, no noise.
Start with just the chair and the lamp if that’s all you’ve got right now. Everything else can come later.
Tell me in the comments what your nook looks like, or what’s stopping you from building one. I’d love to hear it.