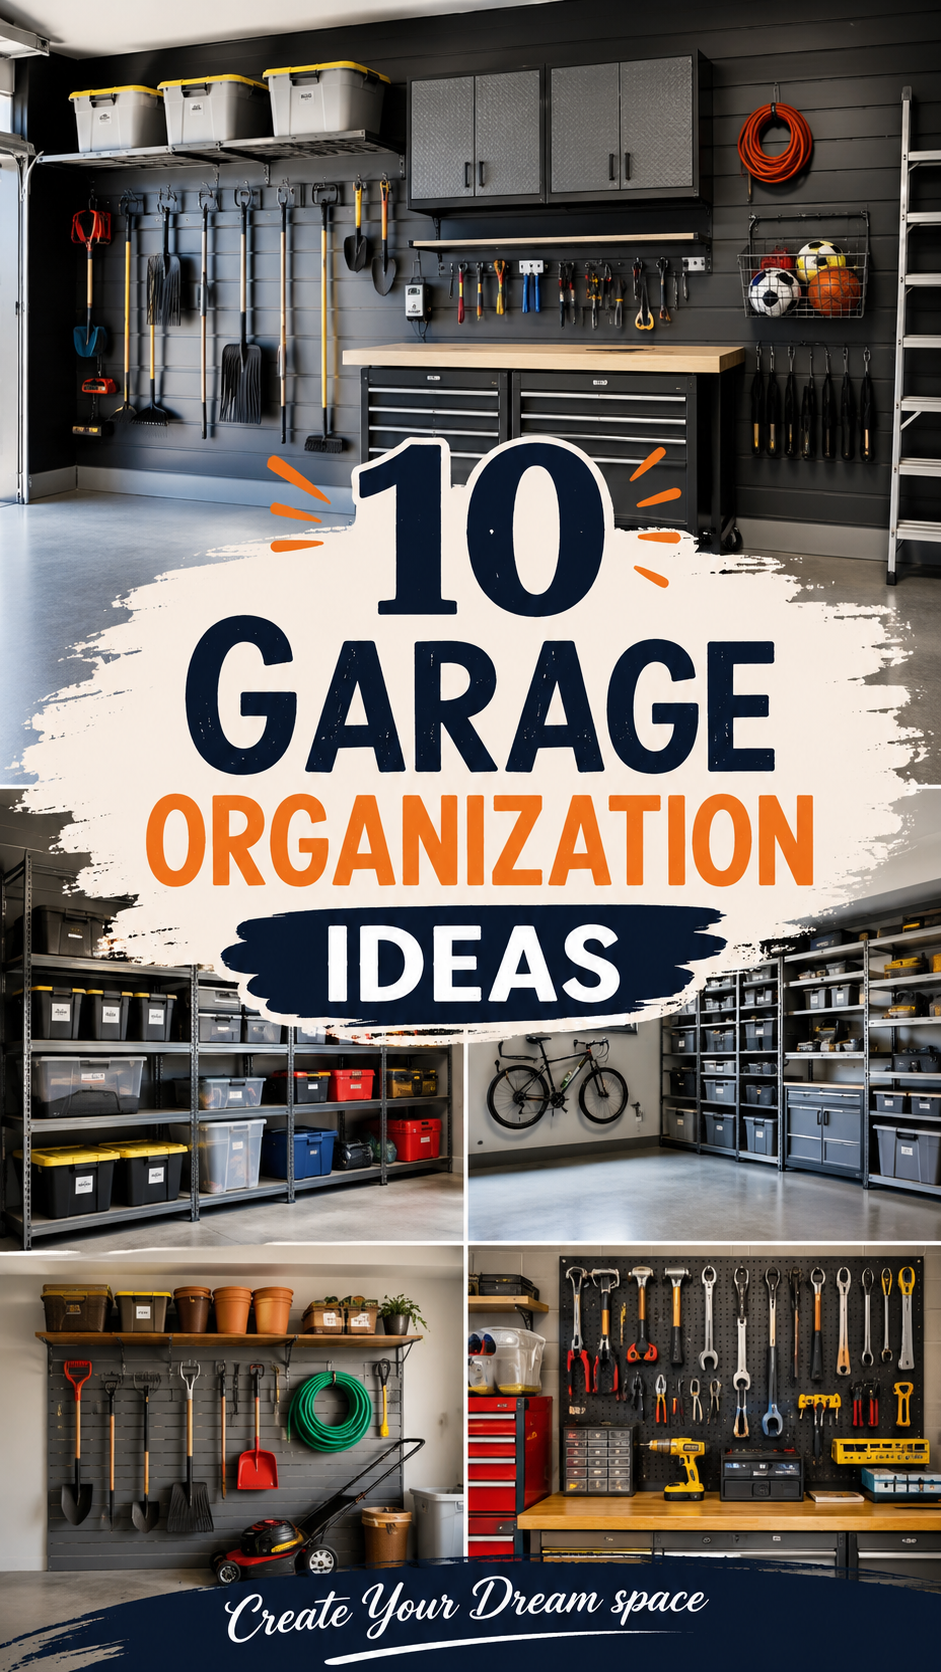
Your garage is holding more secrets than a locked diary right now.
Somewhere under that pile of holiday decorations is your car. Somewhere near the back wall is the toolbox you swore you’d keep within reach.
Here’s the truth nobody tells you: garage chaos isn’t a storage problem. It’s a system problem.
Fix the system, and the mess stops coming back on its own.
I’m walking you through 10 garage organization ideas that go beyond “just buy more bins.” These are setups that hold up six months later, not just on move-in day.
What You’ll Need
Before you start, here’s your shopping list. You won’t need every item, pick based on which ideas fit your space.
- Wall-mounted pegboard (4×8 ft panel)
- Pegboard hooks and accessory kit
- Heavy-duty wire wall shelving unit
- Clear stackable storage bins, various sizes
- Label maker or chalkboard labels
- Overhead ceiling storage rack
- Slatwall panels, optional upgrade from pegboard
- Magnetic tool strip
- Wall-mounted bike hooks or rack
- Rolling tool cart or workbench
- Zip ties and cable clips
- Clear bin lids and dividers
- Sports equipment storage rack
- Interlocking garage floor tiles
Tools You’ll Need
- Drill and drill bits
- Stud finder
- Level
- Tape measure
- Screwdriver set
- Wall anchors, for spots without studs
- Safety glasses
Pro Styling Tips
- Zone before you buy anything. Walk your garage and group items by category: tools, seasonal, sports, automotive. Shop for the zones, not the other way around.
- Vertical space is your best friend. Most garages waste the entire top third of their wall space.
- Clear bins beat cardboard boxes every time. You’ll actually remember what’s inside instead of guessing and opening five boxes.
- Keep the floor as empty as possible. A clear floor makes the whole garage feel twice as big, even if nothing else changes.
- Label everything, even the “obvious” stuff. Future you, digging around at 7am before work, will not remember what’s obvious.
Step-by-Step: Building Your System
Step 1: Empty and Sort
Pull everything out. Yes, all of it.
Sort into four piles: keep, donate, toss, and “not sure.” Be honest with the “not sure” pile. If you haven’t touched something in a year, it’s probably a donate.
Step 2: Map Your Zones
Decide where each category lives before you install anything. Tools near the workbench. Seasonal decor up high. Sports gear near the door you actually use most.
Sketch it out on paper if that helps. Five minutes of planning saves an hour of moving shelves later.
Step 3: Install Vertical Storage First
Mount your pegboard or slatwall near the workbench area. Find your studs with a stud finder before drilling, this matters more than people think, especially for heavier tools.
Add shelving units along one full wall for bins and bulkier items you don’t need daily.
Step 4: Add Overhead Storage
Ceiling racks are perfect for things you use a few times a year. Holiday decorations, camping gear, spare luggage all belong up there.
Leave a couple feet of clearance from the garage door track when installing, so nothing interferes with the opener.
Step 5: Sort Into Bins and Label
Group small items into clear bins by category. Label each bin on the short side so you can read it while it’s sitting on a shelf, not just from the front.
Step 6: Set Up a Tool Zone
Mount your magnetic strip or pegboard hooks near the workbench. Keep frequently used tools within arm’s reach and everything else tucked into drawers or bins.
Step 7: Handle Bikes and Sports Gear
Wall-mounted bike hooks free up an enormous amount of floor space fast. A vertical rack works well for balls, bats, and rackets that usually end up in a pile.
Step 8: Do a Final Walkthrough
Stand at the garage entrance and look at it fresh. Anything still sitting on the floor that doesn’t need to be there? Move it up or out before calling it done.
Make Ahead / Prep Tips
- Measure your garage walls and ceiling height before buying any shelving or racks. Return trips are the worst part of this project.
- Order overhead racks and pegboard panels about a week ahead, some ship slower than expected.
- Take photos of your garage before you start. It helps you remember where things used to live if you need to backtrack.
- Sort your keep pile into rough categories the night before installation day so you’re not decision-making and drilling at the same time.
Budget Breakdown
| Setup Level | What’s Included | Estimated Cost |
|---|---|---|
| Budget | Pegboard, a few bins, basic hooks | $80–$150 |
| Mid-Range | Pegboard, wire shelving, overhead rack, bins | $250–$450 |
| Full Upgrade | Slatwall system, cabinets, overhead racks, rolling cart | $600–$1,200+ |
Start at whatever level fits your space and budget right now. You can always add pieces later as you go.
Substitutions and Variations
Small garage: Skip freestanding shelving and go all-in on wall-mounted storage. Every inch of floor space counts.
Large garage: Add a rolling workbench or tool cart so you can shift your work zone around depending on the project.
Renting instead of owning? Use freestanding shelving units instead of drilling into studs, and check with your landlord before mounting anything permanent.
On a tight budget? Repurpose old kitchen cabinets or bookshelves instead of buying new shelving units from scratch.
Want a different look? Swap wire shelving for solid wood shelving if you want a more finished, less industrial feel.
Hot or cold climate garage? Stick with metal or plastic storage over cardboard, since temperature swings warp and weaken cardboard fast.
Maintenance and Upkeep
- Do a 10-minute reset every Sunday. Put stray items back in their zone before the pile grows again.
- Reassess your zones every 6 months. What you use changes with the seasons, so your storage should too.
- Sweep and wipe down shelving quarterly so dust doesn’t build up on stored items.
- Keep a small bin near the entrance for items that are “on their way out” instead of letting them land on the floor.
- Check overhead rack hardware once a year to make sure nothing has loosened.
FAQ
How long does a full garage organization project take? Most single-car garages take a full weekend. Two-car garages with more gear can take two weekends.
Do I need to drill into studs for pegboard? For heavy tools, yes. Studs hold weight far better than drywall alone. Use a stud finder before you start.
What’s the best flooring option for a garage? Interlocking foam or PVC tiles are the easiest DIY option. Epoxy coating looks great but takes more time and money.
How do I stop the garage from getting messy again? A weekly 10-minute reset habit is the single biggest factor. Systems only work if you maintain them.
What should never go in a garage? Avoid storing anything sensitive to temperature swings, like paint, electronics, or photos, unless your garage is climate controlled.
Can I organize a garage on a really tight budget? Yes. Start with a pegboard, a handful of clear bins, and hooks you already own. You can build out from there over time.
Wrapping Up
A functional garage isn’t about buying every organizer on the shelf. It’s about giving every item a home it actually goes back to.
Start with one zone this weekend. Even a single wall of pegboard changes how the whole space feels.
What’s the one area of your garage driving you the most crazy right now? Drop it in the comments, I’d love to hear which idea you’re trying first.